Hive of Gorgons Guide
Hive of Gorgons is a 10-player raid where you fight your way through elite enemies and 3 boss fights.
Rewards for the Hive of Gorgons raid are only obtained for the first time you kill one of the 3 bosses each week.
If you are just learning this raid, you should prioritize the following:
- Learning the boss and enemy mechanics
- Boss and enemy damage types so you can protect yourself better with Gems
- Damage Optimization
- Team Composition
Healers – can sometimes have 1 or 2 healers.
- Tank gets first priority, DPS should be using a leeching ring and manage their lives as best as they can. More DPS potential like this.
- The tank gets 1 designated healer who specs for single-target healing. DPS group gets a healer who specs for AOE healing.
Ideal Team composition

*atleast 1 Rapier should be a Bleed build
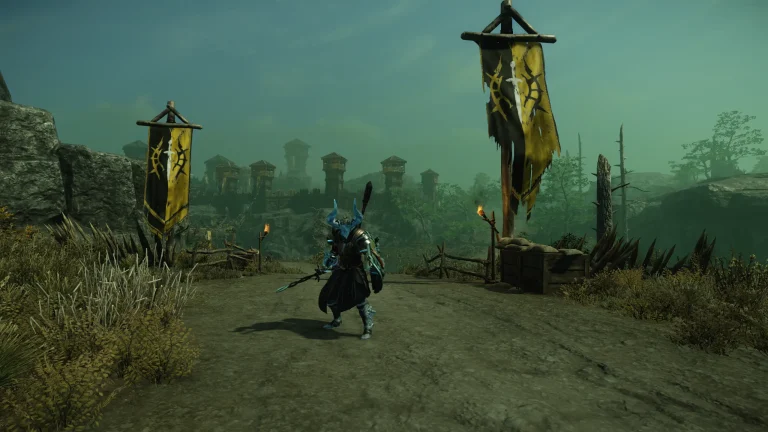
Raid Start
The mobs in between boss rooms are mostly easy because you can respawn as many times as you need with no penalty.
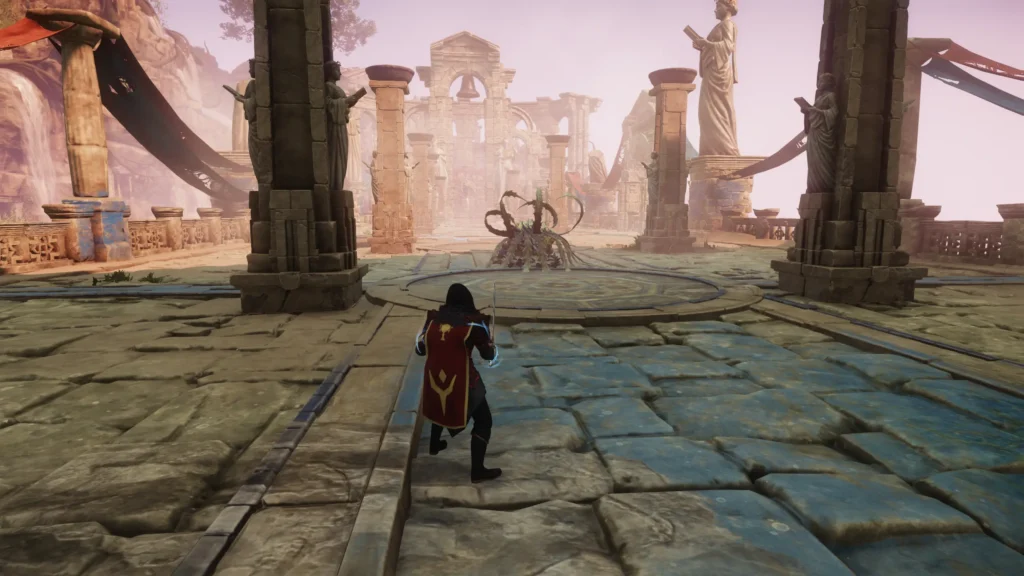
There are a few small rooms with mechanics you need to pay attention to. Before the first boss, Echidna, there will be a room with a closed door and many elites. To progress you need to kill all the mobs until they stop respawning. Then 2 squares will become active and 1 melee player will stand on each at the same time – this will spawn 2 spiders per plate. The tank should grab aggro of the 4 spiders total and everyone else should look toward the 3 red balls spinning around 2 separate pillars and shoot them until they are all green. Once done the door is open and you are at Echidna.

Echidna
At Echidna there are 2 different strategies – melee or ranged. Melee is faster but takes more skill to survive and dodge boss mechanics. The team should break Echidna’s stamina quickly and then maximize DPS while Echidna is down and immobilized. Watch for the crystals phase, destroy the crystals quickly, and monitor the boss’s jump mechanic when his health drops below 50%. Dodge timing for the boss jump should happen when the he is at the highest point of the jump. Everyone should be using a Strike Protection amulet.
Ranged method – Tank takes aggro. Ranged should focus on getting on top of pillars to do extra stamina damage to Echidna, and should be using only Heavy attacks to drain stamina. Once Echidna’s stamina bar has 10% left, range players should move in closer to boss for the stamina break and swap to DPS weapon – mostly evade rapiers with at least 1 bleed rapier. Rinse and repeat while avoiding boss mechanics and killing crystals.
Melee method – Tank takes aggro. DPS should be attacking one of the back legs with primarily heavy attacks to drain boss stamina. Keep an eye out for the tail swipe mechanic; there are few options you have to avoid dying from this attack. Block the attack, dodge out of its way (you can’t dodge through the mechanic), or time a riposte or flurry to negate the damage with immunity frames. For the stomp mechanic either dodge through it or time a riposte/flurry to avoid damage. Again focus crystals and watch out for jumps when the boss is under 50% health. Rinse and repeat.
Overall it’s one of the easiest boss fights if you know the boss mechanics and when to dodge his abilities.
After defeating Echidna, move through the mobs, bypassing some to save time since they offer no kill score or drops.
Enter the maze in the next room and activate all six plates (three pairs) to unlock the door. Task one or two players with keeping the two Medusas occupied to prevent them from wandering, as they’re unkillable. Usually the rest of the team rotates counter clockwise to kill spiders, which unlocks the plates. 2 people stay behind for the 2 plates while the others move on counter clockwise to finish the other pairs of plates. After you activate all six plates by stepping on them, check the plate you’re standing on; when it displays “locked,” the door opens, and you can step off. You will also hear an audio queue indicating the door to continue is now open.
Typhon
Now you are on Typhon, the hardest boss in the raid because it requires high DPS for a smooth run. With sub-optimal DPS the boss will absorb Elite mobs and get buffs to make him do more damage which will inevitably kill players. There are 3 greater phases of the boss fight. Most players should be using a Slash Protection amulet. Healers sometimes use Thrust Protection for mitigating damage from spiders. Boss mechanics to look out for:
- Closing of 1/3rd of the boss arena. Happens slowly with a red indicator on the ground. Tanks moves the boss outside of the closed section.
- Spikes. Red circles are summoned around a player that unleash high damage spikes. Players should dodge backwards to identify if they have spikes or not. If you do, take them away from the group, you can run out of them if you run straight which saves your stamina.
- Mob phase. Boss summons groups of mobs including Elite Corvids, Elite wolves, and spiders. In the first and second boss phases, DPS should hyper-focus on killing corvids, then wolves before the boss absorbs them. Corvids absorbed means boss gets stacks of Empower. Wolves absorbed means boss gets stacks of damage boost to his next absorb. Yes, the absorb ability does damage to you too. On the 3rd boss phase, wolves should be focused first. During mob phase, tank should be kiting the boss around a pillar so healers can focus on surviving for themselves.
- Eyes/pillar phase. After absorbing remaining mobs boss will run to the middle, and summon eyes over 1 players head. Player should run behind one of the pillars in the arena to avoid being 1-shot killed. It’s very important to identify if you have the eyes or not.
- Jump. At phase 2 and 3 the boss will randomly run to the middle and jump up and same the ground with an expanding AOE wave that staggers and does high damage. Can be easily dodge if you are closest to the boss so you don’t have to delay the dodge.
- Swipe. Typhon will charge up an attack where he lunges forward towards the take and attacks in 2 circle movements around him. Can be dodged, but the timing is delayed and less conventional compared to the other abilities.
There are many challenges to staying alive, but learning Typhons mechanics and timing, and focusing the correct mobs as a group will be extremely important. There is not much room for non-meta or fun builds for this boss. Come prepared.
After Typhon is dead, continue with mobs and you will run into the poison room. Only 2 people should use the fountains to cleanse (throwing cleansed water at) other fountains and clear all the mushrooms and spikes in the arena. Also kill mobs. If you become poisoned, you will start taking damage. In order to clear it, you must also be cleansed. Throw the cleanse at the ground and step in the circle to be cleansed.
Once done, group 1 goes down the left path, group 2 on the right path. Use every lever possible which opens gates for the opposite path to continue, and continue killing mobs.
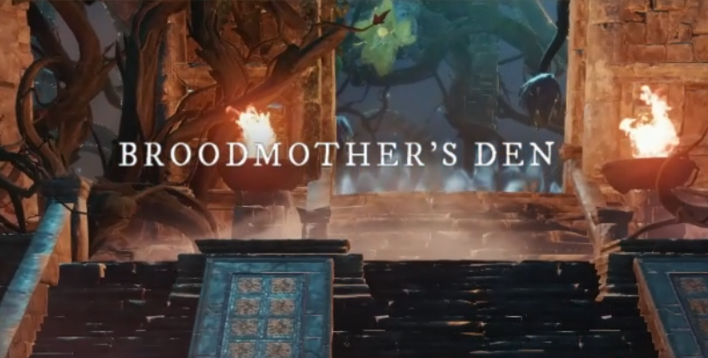
Broodmother Medusa
You are now at the final boss, Broodmother Medusa. She has relatively easy mechanics, and most groups kill her with ranged DPS. Tank should take aggro of the boss between the two right pillars, from the entrance. DPS should stand on the outside rings of the circle and spread out some. Players should use Nature Protection amulets. Mechanics to look out for:
- Poison stacks. Once it reaches 10+ you will start taking considerable nature damage. Can be cleansed with the fountain. Throw the cleanse at the ground and step in the circle. Tank can sometimes do this for themselves although healer can often help them with it.
- Flower Blooms. One on the bosses back and 3 on the ceiling. They drop sleeping clouds on the ground and should be closed/focused asap.
- Boss charge. She will sometimes turn around and charge players. While 100%-50% hp this only happens when a player throws a cleanse at the boss. Under 50% it happens randomly. Dodge to avoid it.
- Eggs. Boss will frequently send out eggs which will spawn enemy mobs if not destroyed. Most teams ignore the eggs and let the mobs spawn and just take down the mobs as soon as they spawn. Do this as a team to finish the mobs quickly.
- Vines. These spawn over the fountains and should be taken down quickly. Focus the fountains on the Tanks side first, then DPS side.
If multiple mechanics happen, priority should be Flower Bloom, mobs, then focus on the boss. Just keep an eye out for the boss’s charges.
For unfamiliar terms, please refer to our terminology guide.